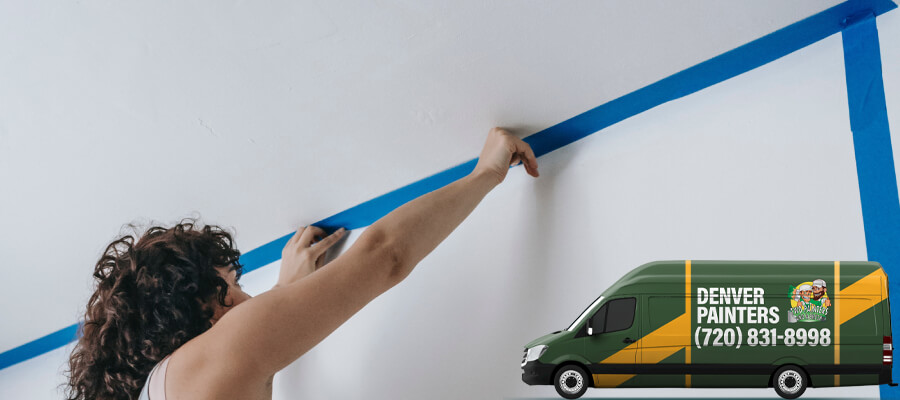
Painter’s tape might seem a lot like masking tape, but it’s not the same at all. Painter’s tape has a light adhesive that is easily removed, doesn’t peel, keeps paint from bleeding under the edge of the tape, and doesn’t leave any residue.
It’s used to simply mask off whatever surface you don’t want to cover with paint, such as a wall or ceiling, and protects from drips and overpainting around things like baseboards when you’re painting a wall and walls when you’re painting baseboards. It’s much more efficient than using a putty knife to shield molding. It’s also used on window panes, which means no scraping with a razor blade.
Before the invention of painter’s tapes in 1988 (yep, it wasn’t that long ago!), painters had to turn to masking tape, and when you pull off masking tape, it often leaves marks on painted and other surfaces. Painter’s tape makes it easy to paint with precision, but only if used properly.
Why Painter’s Tape Instead of Masking Tape?
Masking tape leaves marks when you pull it away, but there are also other reasons professionals don’t use it when painting. Let’s compare the pros and cons of masking and painter’s tape.
The pros of masking tape
There are some pros to masking tape for painting:
- The edges of the lines are clean and straight.
- Masking tape is easy to find.
- Masking tape is less expensive than painter’s tape.
The cons of masking tape
-
It uses a natural rubber adhesive. This rubber adhesive sticks, making it quite a chore to remove masking tape and its sticky mess after you paint. You’ll notice it feels gummy when you peel it away.
-
It can only stay on for a short time. Even if your paint is still wet, to remove masking tape cleanly with sharp edges, you have to remove the tape within hours.
-
It can ruin your paint job. If you get paint on the surface of masking tape, it can peel up your paint.
-
It can buckle. If you’re using water-based paint, it can seep under the edge of the tape and buckle.
Removing Masking Tape Residue
The biggest problem with masking tape is the residue it leaves behind after painting. The longer it sits, the more it sticks, and you can damage surfaces trying to remove it, which is another way to mess up your painting job.
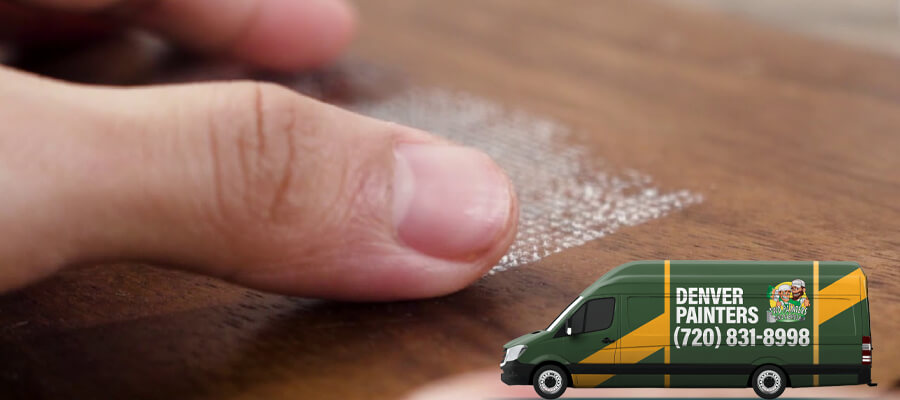
There are some tricks to remove masking tape from any surface
- Rub a cloth dampened with warmer water on the tape, then try to remove it.
- Grab a hair dryer to remove masking tape by heating it, making the glue soft.
- Remove masking tape by trying soaps that are made to use on wood.
After you’ve peeled most of the tape off, you can use a razor blade, utility knife, or solvent to remove the glue residue. Just be careful not to damage what you’ve just painted. However, you can avoid all of the issues with masking tapes by using painter’s tape.
The pros of painter’s tape
When you apply painter’s tape, you get all the advantages of masking tapes with none of the downsides.
Its benefits include:
- You get sharp lines with any paint.
- Painter’s tapes are easy to find in hardware or even grocery and online stores.
- No matter your paint brand, it doesn’t buckle or pucker.
- You can leave painter’s tape on surfaces for days after painting, and it will never leave a sticky mess, offering easy and clean removal when peeling it off.
The cons of painter’s tape
When it comes to the downsides of painter’s tape, the only issue is the price. It is more expensive than masking tapes. Applying painter’s tape is just the best and safest option for painting tape. It comes in a number of types, too.
The Types of Painter’s Tapes
For best results, when you’re buying painter’s tape, it’s important to pick the suitable tape for the job, which means choosing a quality painter’s tape–one that will form a tight seal on the surface has the right level of adhesion, and give easy and clean removal if you don’t remove it when the paint is still wet.
When it comes to adhesion level:
- Low adhesion is best for a wall with wallpaper or a decorative painted surface.
- Medium adhesion is most common for a number of surfaces.
- Use heavy-duty tape for exterior painting or if you have to mask things that tape doesn’t usually stick well to, such as brick.
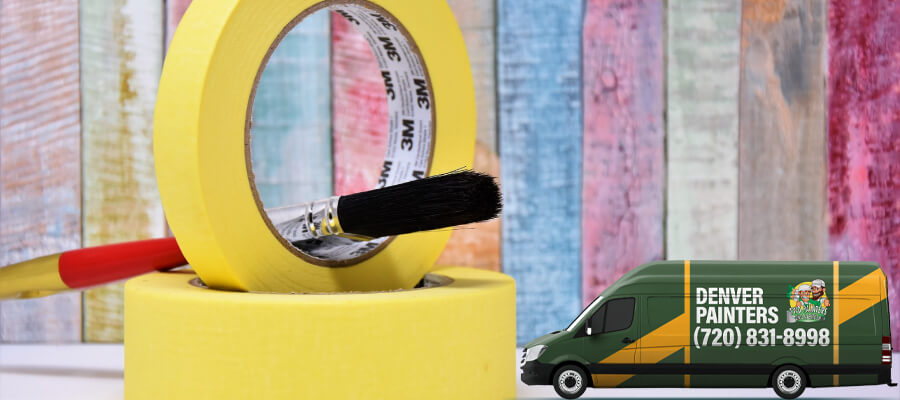
Choose the right color as well:
- Blue painter’s tape resists UV
- Green painter’s tape gives a tight bond, is excellent for a sharp edge, and won’t stick to glass.
- Purple or yellow tapes are colors used for delicate or rough surface painter’s tapes.
But no matter what color you choose and use, you’ll have to remove the tape, so let’s talk about that.
How to Remove Painter’s Tape
You’ve prepared the surface and carefully applied your painter’s tape for a clean edge. But when should you remove painter’s tape? When and how you remove is a key part of a professional finish.
Never remove tape when you have wet paint!
Some painters will tell you to remove the tape when the paint is still wet to prevent the tape from bonding to the tape and to make a jagged edge. But you should wait. Removing the tape when you have fresh paint can send paint splattering all over the place. The ideal time for careful removal of the tape is when your paint is dry to the touch.
What about if you have to apply more than one coat? Should you remove any tape between coats? Your best bet is to leave the tape on until after the second coat has dried.
You want to ensure sharp lines, and it would be too hard to get the edge of the tape to line up precisely where it was for the first coat. So, wait until your final coat of paint dries to the touch. You don’t want to ruin all of your hard work.
So how long is it considered too long to leave it before you remove tape? Maybe you can’t remove the tape immediately or must finish painting multiple coats another day. You don’t want to remove the tape while the painted area is wet, so you must wait until it is dry.
This is where high-quality tape comes in for painting. Check the instructions, but tape removal times can be pretty flexible, even up to 21 days or more after you paint, and still leave a clean line. But for the best job, wait until the paint is no longer wet, and pull off the tape.

Use the 45-degree angle approach for proper tape removal
You have a nice fresh paint job, applied multiple coats, and have no more wet paint. It’s time to pull off the tape, and that’s best done at a 45-degree angle.
It’s time to work patiently and slowly, pulling it away at a 45-degree angle. You should keep a sharp utility knife with a fresh blade at hand to score the edge of the painted area if, while peeling and pulling, paint is stuck across the width of the tape.
Work close to the tape to see what’s happening, and don’t be tempted to pull off a long length in one go. Slow and steady is what’s going to give you a professional-looking paint job.

Choose Two Painters and a Brush for Your Painting Project
Paint is in our blood. Well, not really, but it might as well be. We’re your family-owned and operated Denver painters that deliver beautiful, lasting results. Two Painters and a Brush uses the highest-quality paint and materials, and our professional painters take pride in their workmanship and superior attention to detail.
We even provide free color consultation services so you can choose the perfect colors for your home in Denver, whether it’s interior or exterior painting. Reach out today for a free estimate at (720) 831-8998 and find out for yourself what makes us the best choice in the Denver metro area.


